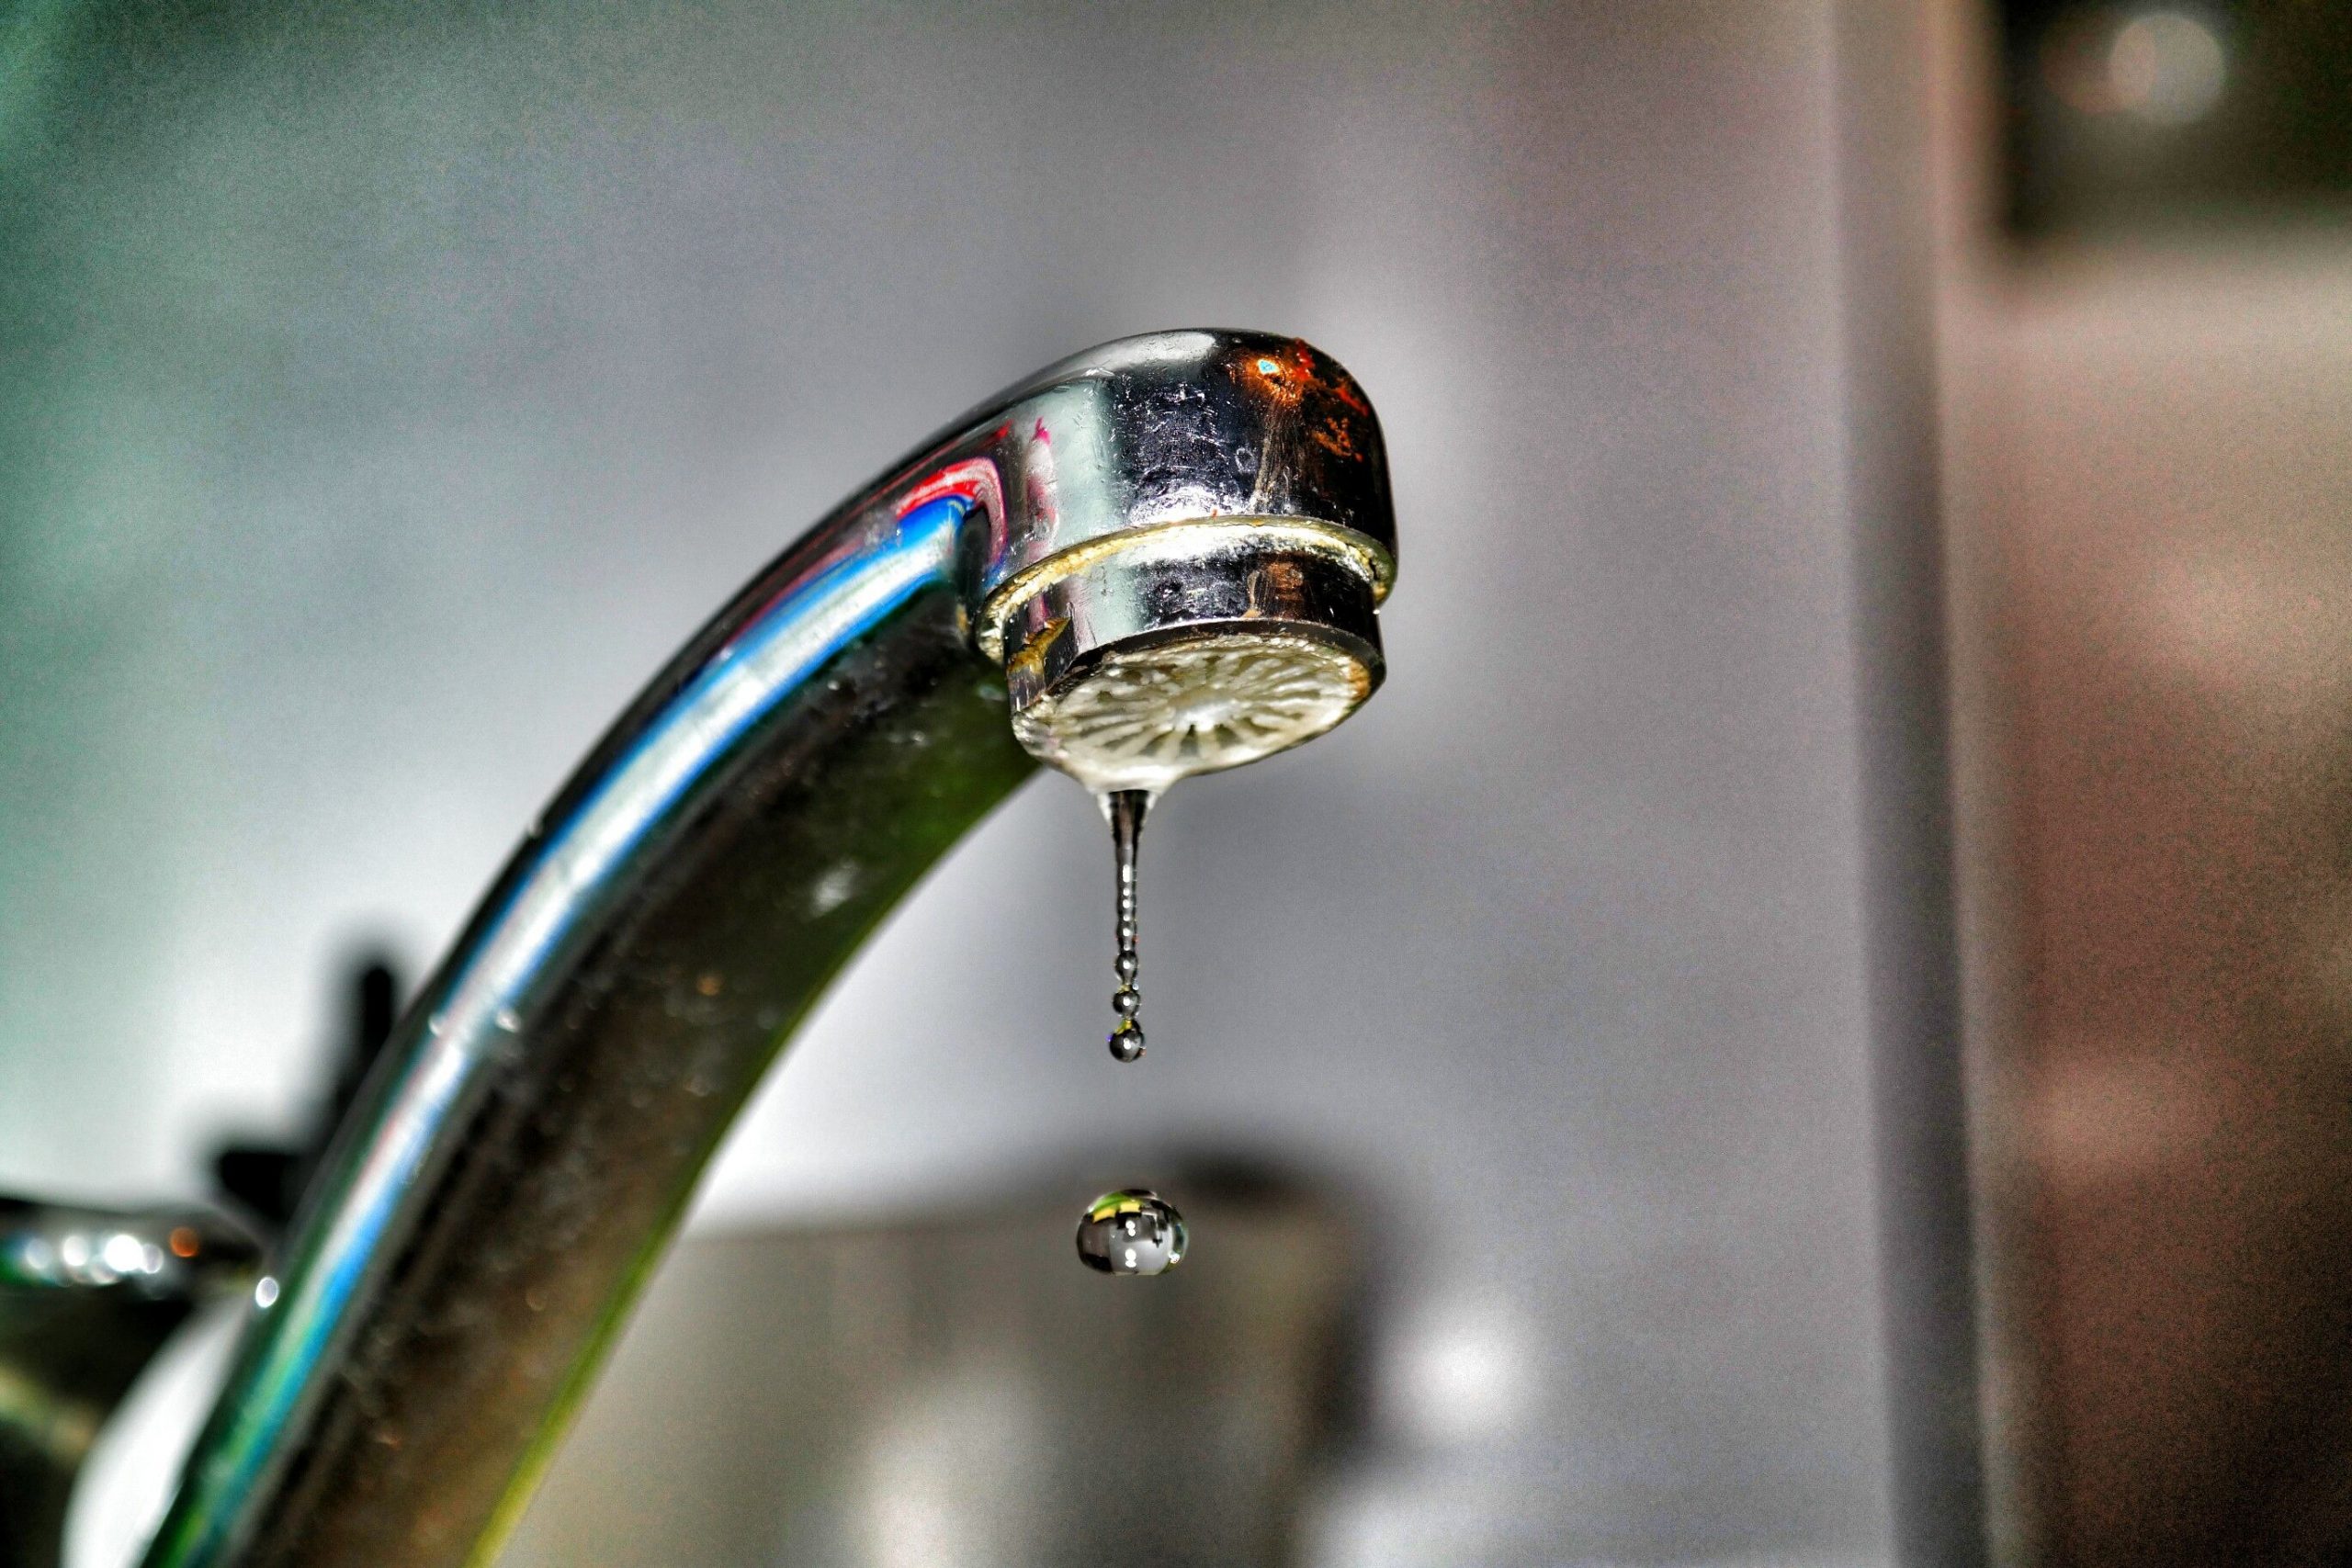
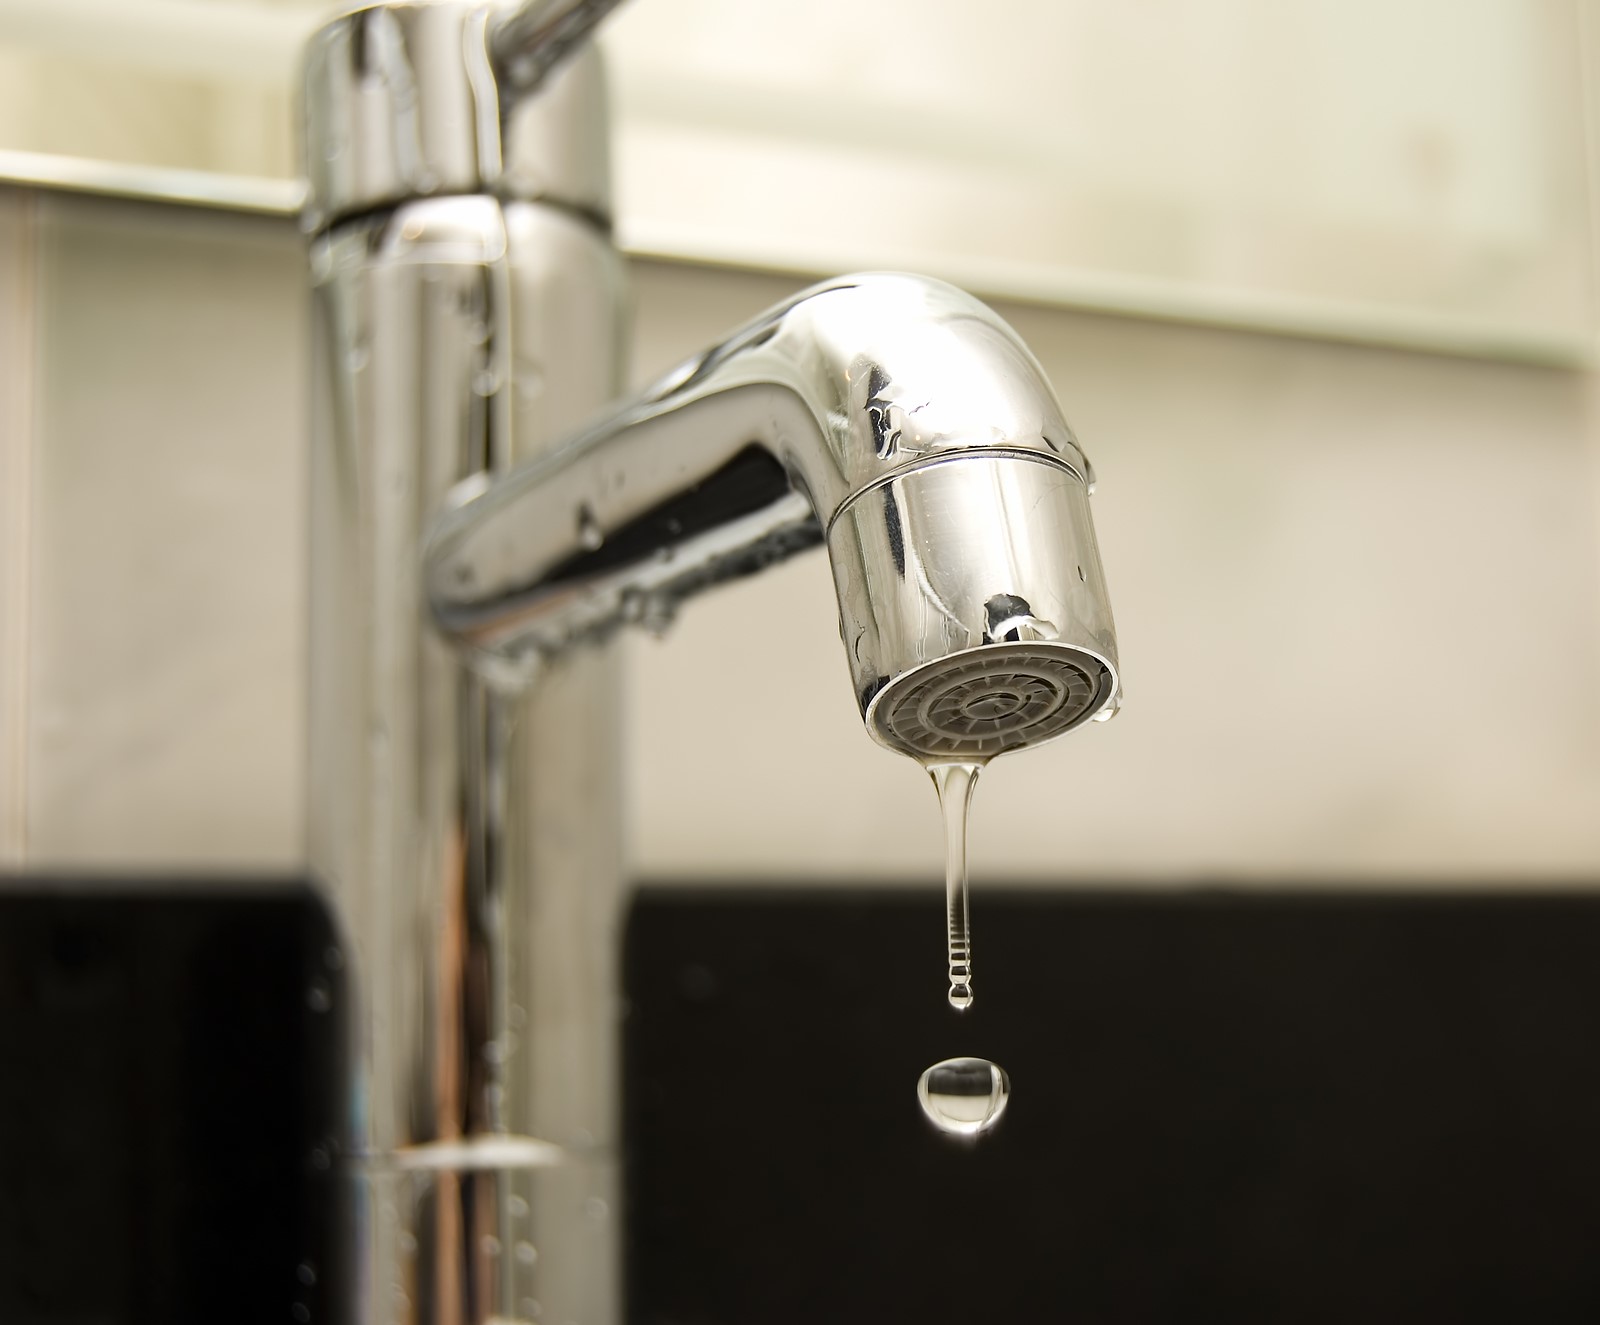
Understanding the Problem: Delta Bathroom Faucet Dripping

A dripping Delta bathroom faucet can be a real annoyance, not to mention a potential source of wasted water and even damage to your bathroom. While a dripping faucet might seem like a minor inconvenience, it’s important to address the problem promptly to prevent further complications.
Common Causes of Dripping
There are several reasons why your Delta bathroom faucet might be dripping. The most common culprits include:
- Worn-out Washers: The washer is a small rubber or plastic disc that sits inside the faucet stem and helps seal the water flow. Over time, these washers can wear down or become brittle, leading to leaks.
- Faulty Cartridges: Delta faucets often use cartridges, which are small, replaceable components that control the flow of water. If the cartridge is worn out or damaged, it can cause a leak.
- Loose O-Rings: O-rings are small rubber seals that help prevent leaks at various points within the faucet. If an O-ring becomes worn, cracked, or displaced, it can lead to a drip.
- Sediment Buildup: Mineral deposits from hard water can accumulate inside the faucet, obstructing the flow of water and causing leaks.
Consequences of a Dripping Faucet
A seemingly insignificant drip can have some serious consequences:
- Water Wastage: A single drip per second can waste over 3,000 gallons of water per year! This can significantly impact your water bill and contribute to water scarcity.
- Damage to Surfaces: Constant dripping can damage the surfaces around your faucet, such as the countertop, sink, and even the floor. Water stains, mold, and mildew can develop, creating an unsightly and potentially unhealthy environment.
Troubleshooting a Dripping Delta Faucet

A dripping Delta faucet can be a real nuisance, but before you call a plumber, there are a few things you can try to fix it yourself. Most Delta faucets are built with similar components, so understanding the basics of how they work can help you identify and address the issue.
Identifying the Faucet Type and Model Number
To troubleshoot your Delta faucet effectively, you need to know what type of faucet you have and its model number.
– Single-handle faucets have one lever that controls both hot and cold water flow. They are common in modern kitchens and bathrooms.
– Two-handle faucets have separate handles for hot and cold water. They are often found in older homes.
– Delta’s model number is usually found on a sticker on the bottom of the faucet or on the underside of the handle. This number is essential for ordering replacement parts.
Inspecting the Faucet for Signs of Wear or Damage
Once you know the type and model number of your faucet, you can start inspecting it for signs of wear or damage. Here’s a step-by-step guide:
1. Turn off the water supply: Locate the shut-off valve for your faucet and turn it off.
2. Remove the faucet handle: This will expose the cartridge, which is the main part of the faucet that controls water flow.
3. Inspect the cartridge: Look for any signs of wear, cracks, or debris. If the cartridge is damaged, you will need to replace it.
4. Check the washers and O-rings: These small rubber components help seal the faucet and prevent leaks. Inspect them for wear, cracks, or missing pieces. If they are damaged, you will need to replace them.
5. Examine the aerator: The aerator is the small screen at the end of the spout that mixes air with water. Look for any clogs or debris that could be causing the dripping. If it’s clogged, you can clean it or replace it.
Comparing Different Types of Delta Faucets and Their Common Dripping Issues
Here’s a table that compares the different types of Delta faucets and their common dripping issues:
| Faucet Type | Common Dripping Issues |
|—|—|
| Single-handle | Cartridge wear, O-ring damage, worn-out seat |
| Two-handle | Worn-out washers, damaged O-rings, clogged aerator |
| | |
Repairing a Dripping Delta Faucet

Fixing a dripping Delta faucet can be a simple DIY project, saving you money and preventing water waste. Let’s break down the process step-by-step.
Repairing a Dripping Delta Faucet
Repairing a dripping Delta faucet is a straightforward process that can be done with the right tools and knowledge. Here’s a flowchart outlining the repair process, starting with basic troubleshooting and progressing to more complex repairs:
The flowchart above provides a visual guide to help you diagnose and repair your dripping Delta faucet. Let’s delve deeper into the specific tools, materials, and replacement procedures.
Tools and Materials Required, Delta bathroom faucet dripping
The following tools and materials are commonly needed to repair a dripping Delta faucet:
- Adjustable Wrench: For loosening and tightening nuts and other fittings.
- Channel-Lock Pliers: For gripping and turning stubborn nuts or fittings.
- Phillips Screwdriver: For removing screws that secure the faucet handle and other components.
- Flathead Screwdriver: For prying off decorative caps or removing screws.
- Needle-Nose Pliers: For handling small parts and reaching tight spaces.
- Replacement Parts: This could include a new washer, cartridge, O-ring, or other components depending on the specific issue.
- Plumbers’ Putty or Thread Sealant: For sealing threads and preventing leaks.
- Small Container: For holding removed parts and preventing loss.
- Cleaning Rags: For wiping away dirt, grease, and excess sealant.
Replacing a Worn-Out Washer
The washer is a small rubber or plastic disc that seals the valve stem and prevents water from leaking. Over time, it can wear out or become damaged, causing the faucet to drip. Replacing a worn-out washer is a common and relatively simple repair.
- Turn off the water supply. Locate the shut-off valve for the faucet and turn it clockwise to stop the water flow.
- Remove the faucet handle. Unscrew the handle using the appropriate screwdriver. You may need to pry off a decorative cap first.
- Remove the valve stem. Unscrew the valve stem using the appropriate wrench. The washer will be attached to the bottom of the valve stem.
- Replace the washer. Remove the old washer and replace it with a new one of the same size and material. Make sure the new washer is properly seated in the valve stem.
- Reassemble the faucet. Reinstall the valve stem, handle, and decorative cap in reverse order. Tighten all screws and nuts securely, but do not overtighten.
- Turn on the water supply. Slowly turn the water back on and check for leaks. If the faucet still drips, you may need to replace the cartridge or O-ring.
Replacing a Worn-Out Cartridge
The cartridge is a more complex component that controls the water flow and temperature. It can wear out over time, leading to dripping, leaking, or difficulty in controlling the water flow. Replacing the cartridge requires a little more effort but is still a manageable DIY project.
- Turn off the water supply. Locate the shut-off valve for the faucet and turn it clockwise to stop the water flow.
- Remove the faucet handle. Unscrew the handle using the appropriate screwdriver. You may need to pry off a decorative cap first.
- Remove the cartridge retaining nut. This nut is located under the handle and secures the cartridge in place. Unscrew it using the appropriate wrench.
- Remove the cartridge. The cartridge should now be loose and can be pulled out of the faucet body. Take note of the cartridge’s orientation before removing it.
- Install the new cartridge. Insert the new cartridge into the faucet body, ensuring it is properly aligned. The cartridge should have a small arrow or mark indicating its orientation.
- Reinstall the cartridge retaining nut. Tighten the retaining nut securely, but do not overtighten.
- Reassemble the faucet. Reinstall the handle and decorative cap in reverse order. Tighten all screws and nuts securely, but do not overtighten.
- Turn on the water supply. Slowly turn the water back on and check for leaks. If the faucet still drips, you may need to replace the O-ring or investigate other issues.
Replacing a Worn-Out O-Ring
The O-ring is a small rubber seal that prevents leaks around the cartridge or other components. It can wear out over time, causing drips or leaks. Replacing the O-ring is a quick and easy repair.
- Turn off the water supply. Locate the shut-off valve for the faucet and turn it clockwise to stop the water flow.
- Remove the faucet handle. Unscrew the handle using the appropriate screwdriver. You may need to pry off a decorative cap first.
- Remove the cartridge. Remove the cartridge retaining nut and carefully pull the cartridge out of the faucet body.
- Replace the O-ring. Remove the old O-ring from the cartridge and replace it with a new one of the same size and material. Ensure the new O-ring is properly seated in the groove.
- Reinstall the cartridge. Insert the cartridge back into the faucet body, ensuring it is properly aligned. Reinstall the cartridge retaining nut and tighten it securely, but do not overtighten.
- Reassemble the faucet. Reinstall the handle and decorative cap in reverse order. Tighten all screws and nuts securely, but do not overtighten.
- Turn on the water supply. Slowly turn the water back on and check for leaks. If the faucet still drips, you may need to investigate other issues.
Preventing Future Dripping

You’ve successfully tackled that pesky dripping Delta faucet, but now it’s time to think about the future. By taking a few preventative measures, you can significantly reduce the chances of another dripping faucet.
Regular Maintenance
Regular maintenance is key to keeping your Delta bathroom faucet in tip-top shape. Here’s a simple routine you can follow:
- Monthly Cleaning: Wipe down the faucet with a soft cloth and mild soap. This removes dirt and grime that can accumulate and lead to problems.
- Quarterly Lubrication: Apply a few drops of silicone lubricant to the faucet’s moving parts, such as the handle stem and the cartridge. This helps prevent friction and wear, which can cause dripping.
- Annual Inspection: Check for signs of wear and tear, such as cracks or leaks. If you find any issues, it’s best to address them promptly.
Using Filtered Water
Hard water, rich in minerals like calcium and magnesium, can build up inside your faucet, leading to clogging and dripping. Installing a water filter can help reduce these mineral deposits.
Avoiding Harsh Chemicals
Harsh chemicals, such as bleach and drain cleaners, can damage the finish of your faucet and shorten its lifespan. Stick to mild cleaners and avoid using abrasive cleaning tools.
Common Mistakes to Avoid
- Over-tightening: Over-tightening the faucet’s components can damage the threads and lead to leaks. Use a wrench or pliers to tighten them gently, just until snug.
- Neglecting to Replace Worn Parts: Worn-out O-rings, washers, and cartridges should be replaced promptly. Ignoring these issues can lead to more significant problems down the line.
- Using the Wrong Type of Lubricant: Using the wrong type of lubricant, such as petroleum-based oil, can attract dirt and grime, making the problem worse. Stick to silicone-based lubricants designed for plumbing applications.
